Web Map Editor
The web map editor interface, currently in alpha stage, can be used to place markers on the map, associate AR+GPS Location data to these markers, and export a XML file with the created data to be used inside Unity, so that the AR+GPS Location plugin will automatically create the objects at the defined locations.
Usage
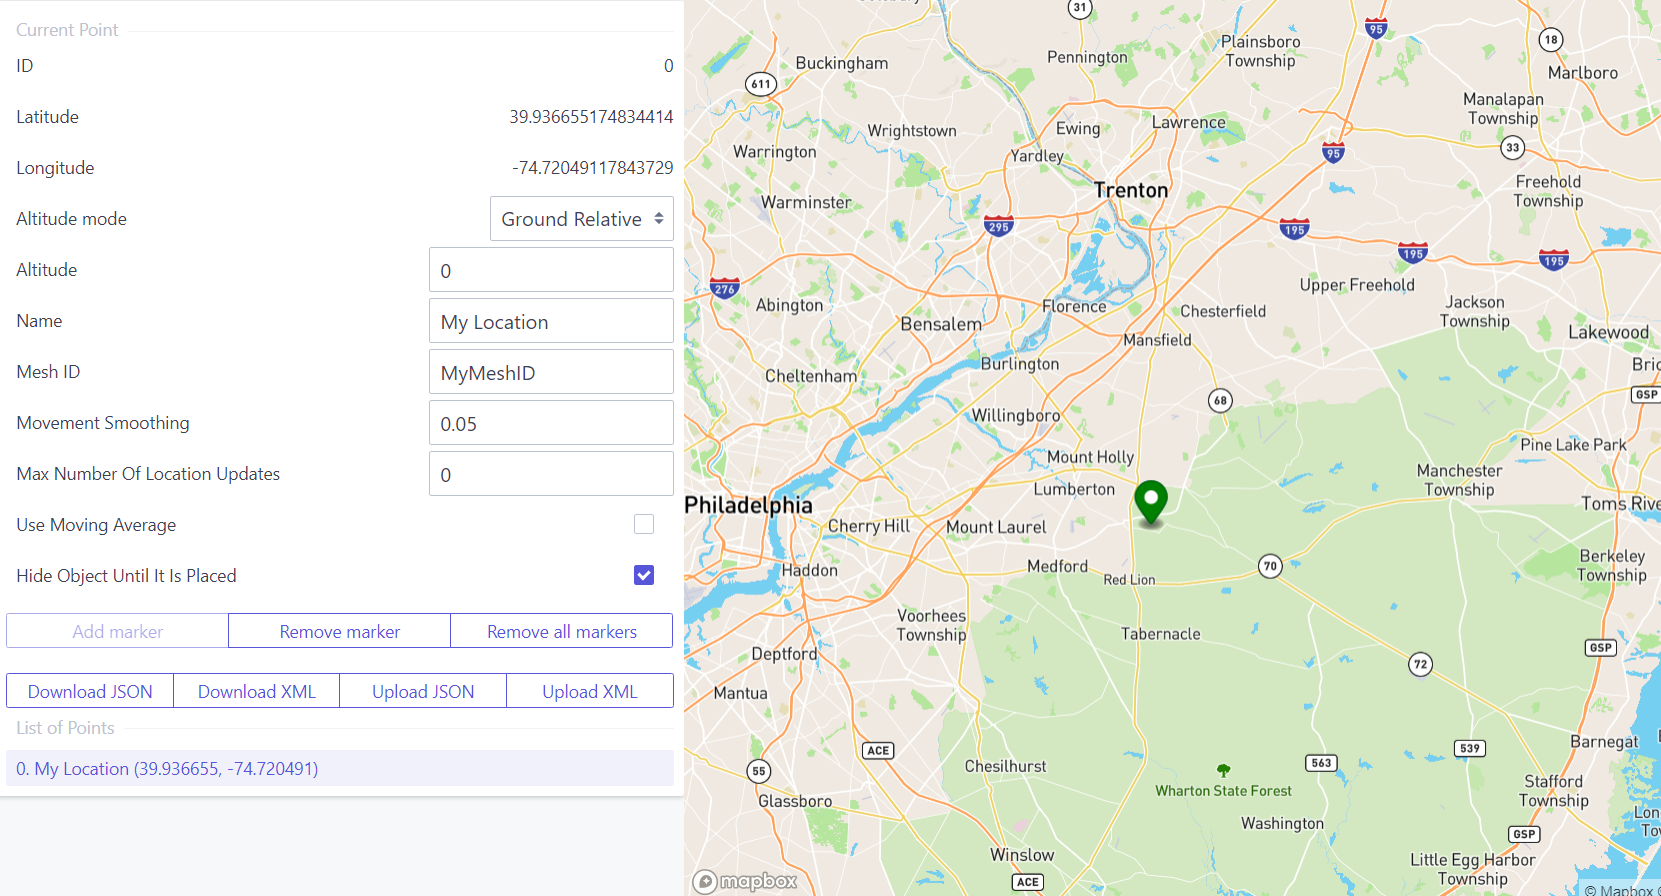
First, click on the location in the map on the right where you wish to place a marker. Initially this will place a red marker on the map.
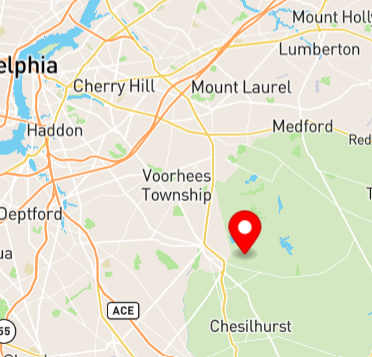
This is a temporary marker. To create a permanent marker, fill in the necessary information on the right panel.
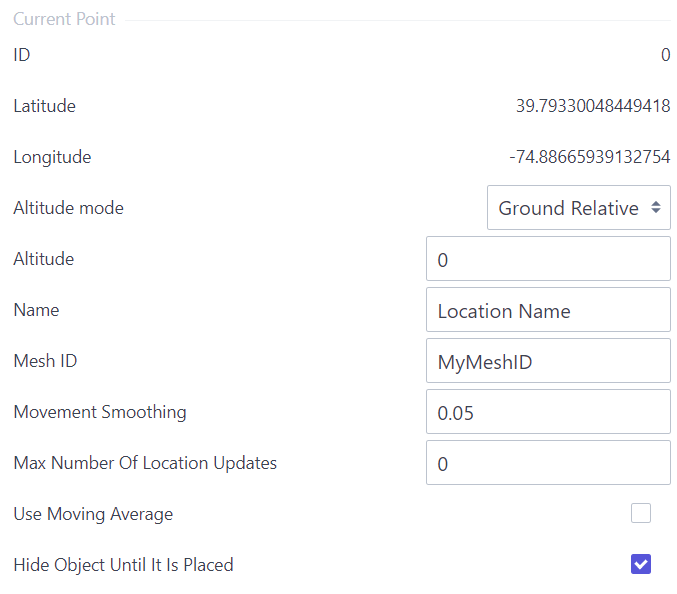
Most of the fields are exact duplicates of the PlaceAtLocation properties. Other than that, it is necessary that you type in a Name
for the location, and a Mesh ID. The Mesh ID is a string which must match the Mesh ID of a prefab inside Unity, in a PrefabDatabase
scriptable object, which we will talk about in the next section
After that, click on the Add Marker button. Then the marker will turn blue, indicating that it became a permanent marker, and the point
will appear in the List of points.
You can select a permenent marker by clicking on it on the map or on the List of Points. A selected marker will turn green.
You can also change the location of any marker by simply dragging it on the map.
After you added all the marker you wanted to add, click on the Download XML button to download a XML file with all the data. If you want
to edit the same data again later, you can click on Upload XML and upload the same file to restore all the data in the editor.
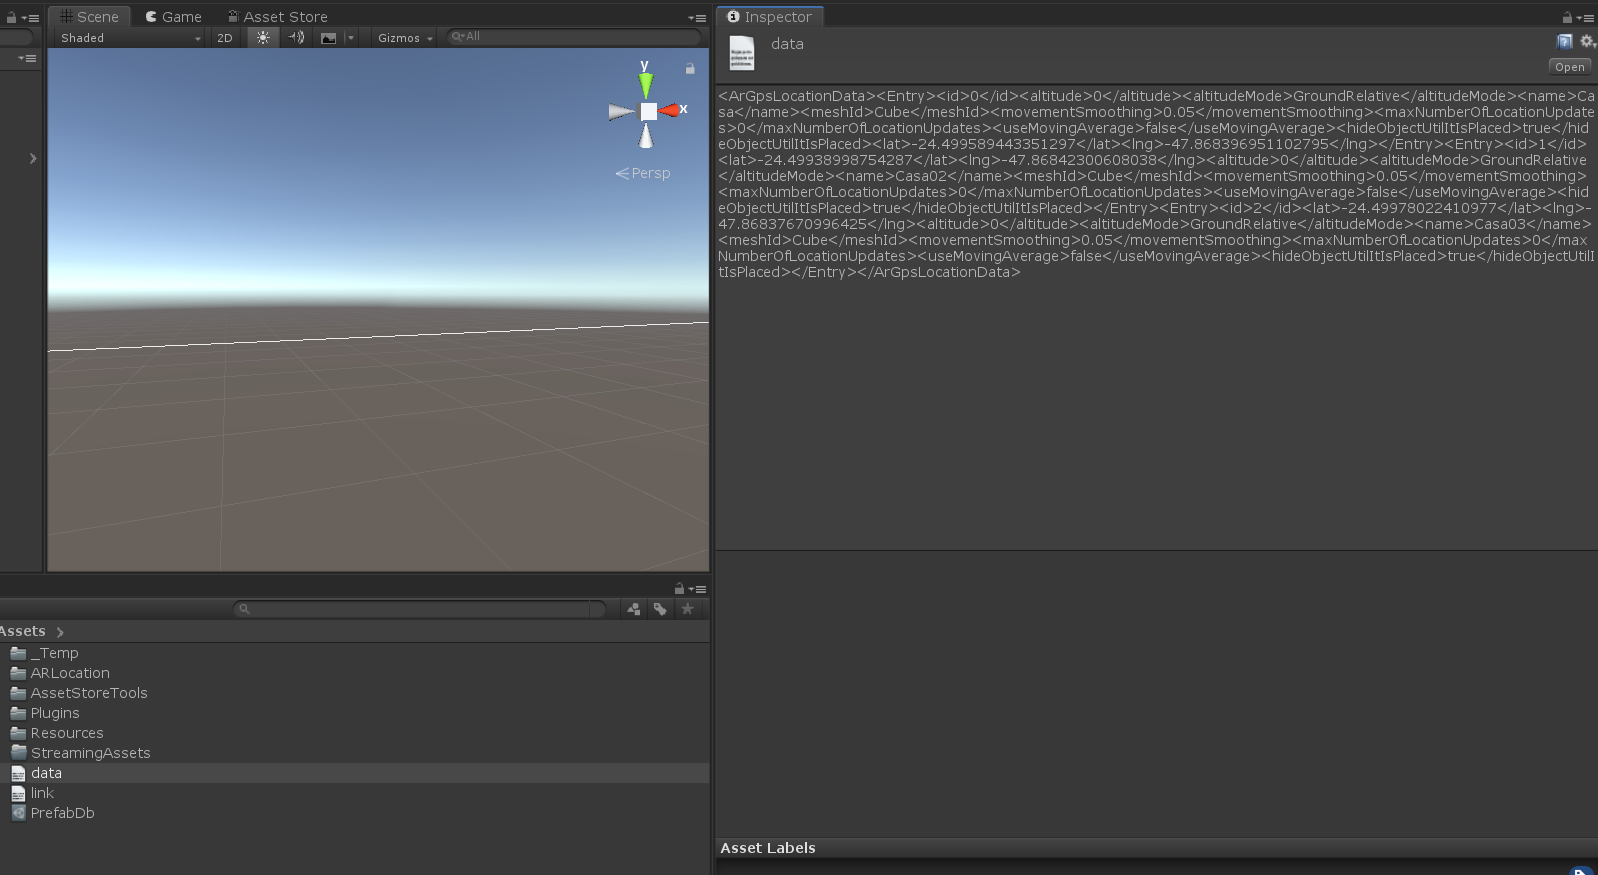
Importing data to Unity
First, import the XML file you downloaded from the web editor into unity. You should end up with a text asset similar to this:
After that, open a AR+GPS Location scene. Create a new GameObject and add a Web Map Loader component to it.

Now, in the Xml Data File property, select the XML file you just imported.

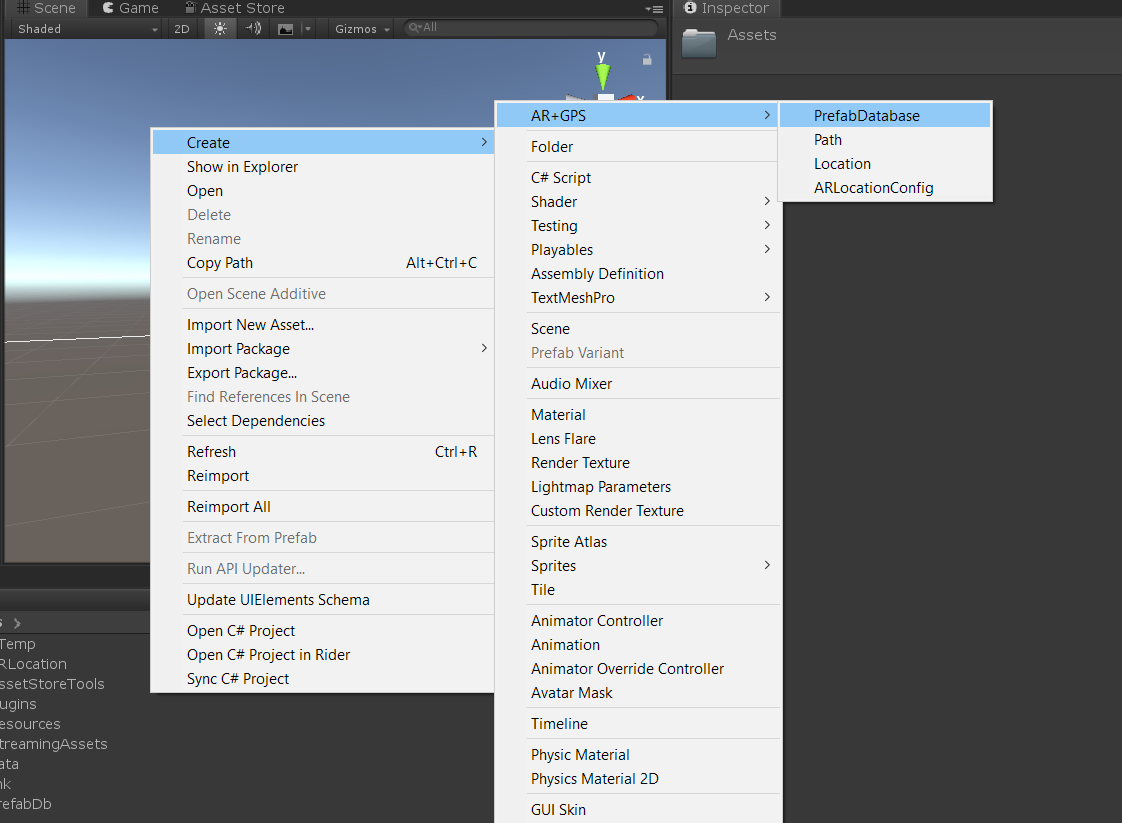
Next we need a Prefab Database. To create one, right-click on the Project panel and go to Create > AR+GPS Location > PrefabDatabase.
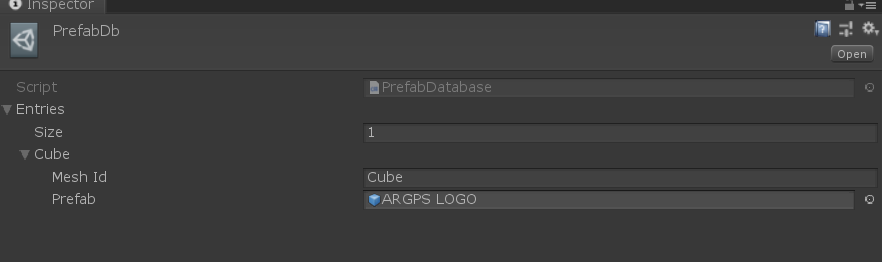
This should create a PrefabDb asset file. Selecting this you can edit it in the inspector:

Now add the entries you need here. The Mesh Id should match the Mesh Id from the web map editor, and the Prefab is the Prefab/GameObject that
you want to associate with this ID, i.e., the object you want to place at the locations associated with the Mesh Id.
After you created the PrefabDb, just add it to the Web Map Loacer:
And that is it! When you run the app you should see the objects at the locations you selected in the web map editor!